
🏷️ Category: Medications
✅ Reviewed by our editorial team — Board-certified physician. Evidence sourced from Novo Nordisk’s official prescribing information, NHS injection technique guidelines, and diabetes nursing specialists.
🔑 Key Takeaways
- ✅ Ozempic is injected subcutaneously (under the skin) — NOT into a vein or muscle
- ✅ The three approved injection sites are the abdomen, upper thigh, and upper arm
- ✅ Always inject on the same day each week — but you can change the time of day
- ✅ Rotate injection sites within each area to prevent lipohypertrophy (hard lumps under the skin)
- ✅ The pen clicks and locks automatically when the injection is complete — no guesswork required
Starting weekly injections is one of the most anxiety-inducing parts of beginning Ozempic for many people. The good news: the Ozempic FlexTouch pen is specifically designed to make self-injection as simple and painless as possible. Most people are surprised by how quick and comfortable it is. This step-by-step guide from our editorial team walks you through everything from first use to troubleshooting common problems.
What You Need Before Your First Injection
Gather everything before you start: your Ozempic pen, a new needle (included in your prescription — use a new one every time), an alcohol swab or cotton ball and rubbing alcohol, a sharps disposal container, and your phone to set a weekly reminder on the same day.
⚠️ Important: Never reuse Ozempic needles. Reusing needles causes pain, increases infection risk, and can damage the injection mechanism.
Step-by-Step Ozempic Injection Guide
Step 1: Prepare Your Pen
Remove the Ozempic pen from the refrigerator 30 minutes before injecting — room temperature injections are significantly more comfortable than cold ones. Check the pen: verify the medication is clear and colourless. Do not use if it appears cloudy, discoloured, or contains particles. Check the expiry date. Once opened (first use), store at room temperature (below 30°C/86°F) for up to 56 days.
Step 2: Attach a New Needle
Tear off the paper tab from a new needle. Push the needle straight onto the pen and turn clockwise until it is tight. Pull off the outer needle cap (keep this — you will need it to remove the needle safely after injection). Pull off the inner needle cap and discard it.
Step 3: Check the Flow (First Use Only)
Only required when using a new pen for the first time. Turn the dose selector to the flow check symbol (two lines). Hold the pen with the needle pointing up. Press and hold the dose button until 0 appears in the window. A small drop of liquid at the needle tip confirms the pen is working correctly. If no drop appears, repeat up to 6 times before contacting your pharmacist.
Step 4: Select Your Dose
Turn the dose selector until your prescribed dose appears in the dose window: 0.25mg (starter), 0.5mg, 1mg, or 2mg. You should feel the selector click into each position. Do not press the button while selecting your dose.
Step 5: Choose Your Injection Site
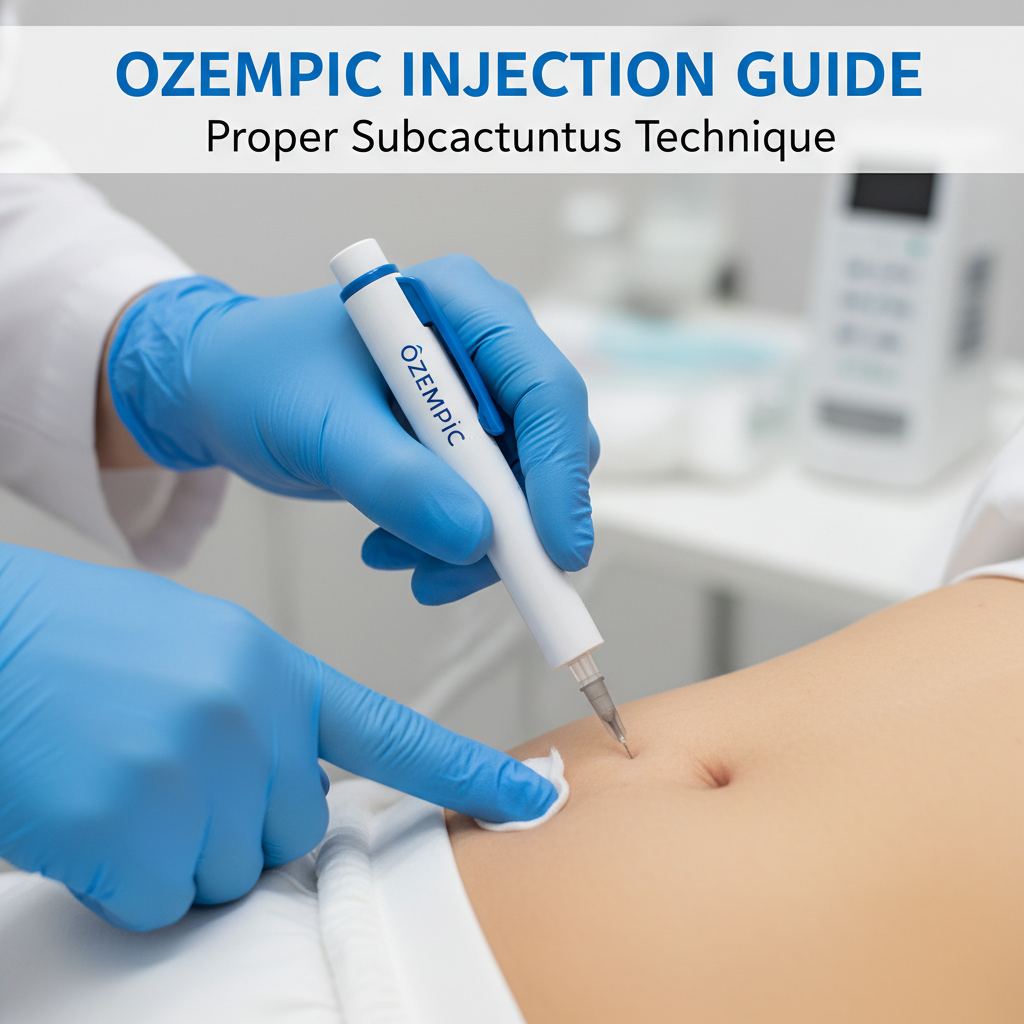
Three approved sites: Abdomen (stomach) — at least 5cm away from your belly button. Upper thigh — front and outer area only. Upper arm — outer area only (usually requires someone to help). Best site for most people: The abdomen provides the most consistent absorption and is easiest to self-inject. Rotate to a different location within the same area each week — do not inject into exactly the same spot twice in a row.
Step 6: Clean the Skin
Wipe the injection site with an alcohol swab and let it dry completely (10–15 seconds). Do not blow on it or fan it — this can introduce bacteria.
Step 7: Inject
Pinch a small fold of skin at your injection site between your thumb and forefinger. Insert the needle straight in (90 degrees) — a quick, confident motion is more comfortable than a slow tentative one. Press and hold the dose button until the dose counter shows 0. Continue holding for an additional 6 seconds after the counter reaches 0 — this ensures the full dose is delivered. Release the pinch of skin. Withdraw the needle — do not rub the injection site afterward.
💡 Doctor’s Tip: The 6-second hold after the counter reaches 0 is the most commonly skipped step — and the most important. Withdrawing too early results in incomplete dose delivery and medication on your skin.
Step 8: Dispose Safely
Put the outer needle cap back onto the needle (use the capping technique — set cap on a flat surface and insert needle into it without using your fingers near the tip). Unscrew the needle from the pen and dispose in your sharps container. Replace the pen cap. Store the pen at room temperature until the next weekly injection.
Where to Inject Ozempic: Site Comparison
Common Injection Problems and Solutions
Injection Site Reactions
Redness, itching, or small bruises at injection sites are common — particularly in the first few weeks. These are almost always temporary and resolve within a few days. Prevent them by: rotating sites correctly, injecting at room temperature, using a new needle every time, and ensuring alcohol is completely dry before injecting.
Lipohypertrophy — Hard Lumps Under the Skin
Repeatedly injecting into the exact same spot can cause lipohypertrophy — fatty lumps under the skin that change how the medication is absorbed. Prevent by rotating sites systematically. If you notice lumps, avoid that area and they will gradually resolve.
Medication Leaking Out
If you see liquid on your skin after removing the needle, you did not hold the button for long enough after the counter reached 0. Hold for a full 6 seconds after 0 appears. Also ensure the needle is fully inserted at 90 degrees.
Needle Anxiety
Many people are needle-phobic before starting Ozempic and find the reality far more manageable than expected. The Ozempic needle is very fine (32 gauge) and very short (4mm) — most people feel little to no pain. Distraction techniques (watching TV, listening to music) help significantly. If severe needle anxiety persists, discuss with your GP — numbing cream can be prescribed.
Ozempic Storage Guide
Frequently Asked Questions
Does Ozempic injection hurt?
For most people — very little. The needle is extremely fine and short. The most common descriptions are ‘a slight sting’ or ‘barely feel it’. Room temperature medication, a quick confident insertion, and correct site rotation all minimise discomfort.
What if I forget my weekly Ozempic injection?
If you miss your weekly dose: inject as soon as you remember, if it is within 5 days of your scheduled day. If more than 5 days have passed, skip the missed dose and resume your normal schedule next week. Never double-dose to make up for a missed injection.
Can I inject Ozempic in my leg?
Yes — the front and outer area of the upper thigh is an approved injection site. Avoid the inner thigh (too close to major blood vessels) and the knee area. The upper thigh is a good alternative when the abdomen is uncomfortable or bruised.
🔗 Complete Ozempic & GLP-1 Resource Hub
HealthAuthorityLife.com is your #1 source for everything Ozempic. Read the full series:
📚 Medical Sources & References:
Novo Nordisk — Ozempic Instructions for Use | NHS — Injecting Insulin/GLP-1 Technique | FDA — Ozempic Prescribing Information | Diabetes UK — Injection Site Guide
⚕️ Medical Disclaimer: This guide is for informational purposes only. Always follow the specific instructions provided by your pharmacist and the official Novo Nordisk Instructions for Use included with your Ozempic pen. Ask your nurse or pharmacist to demonstrate the injection technique in person if this is your first time.
Leave a Reply